Tree Care

tree selection
- Selecting the proper tree for your site is the most important step in the tree planting process. There are several online resources to help you choose a tree for your specific site.
- Quick tip: Red Lodge is in planting zone 4b.
PLANTING
- Ball and Burlap
- Dig a saucer-shaped hole about 2-3 times the size of the root ball. If you can, rototill the area about 5 times the size of the ball to break up the dirt for root growth. After placing the root ball in the center of the hole and making sure that it is ground level, remove all twine, wire, and nails from the plant. Making sure the tree is straight, backfill the soil to the root collar and create a shallow bowl for water to collect. Give the tree a good watering, let it soak in and cover with 2-4 inches of mulch. Keep the mulch about 4 inches away from the trunk. Click here for more information from the Arbor Day Foundation.
- Containerized
- Dig a saucer-shaped hole about 3-4 times the size of the container. Carefully remove the tree by lying it down and gently press on the sides of the container to loosen it. Place tree in center of hole ensuring that it is ground level. Begin to backfill to the root collar and check that there are no air pockets. Form a shallow bowl around the tree for water collection. Give it a good soak then cover with 2-4 inches of mulch 3 feet around the tree. Keep mulch a few inches away from the trunk. Click here for more information from the Arbor Day Foundation.
- Bare Root
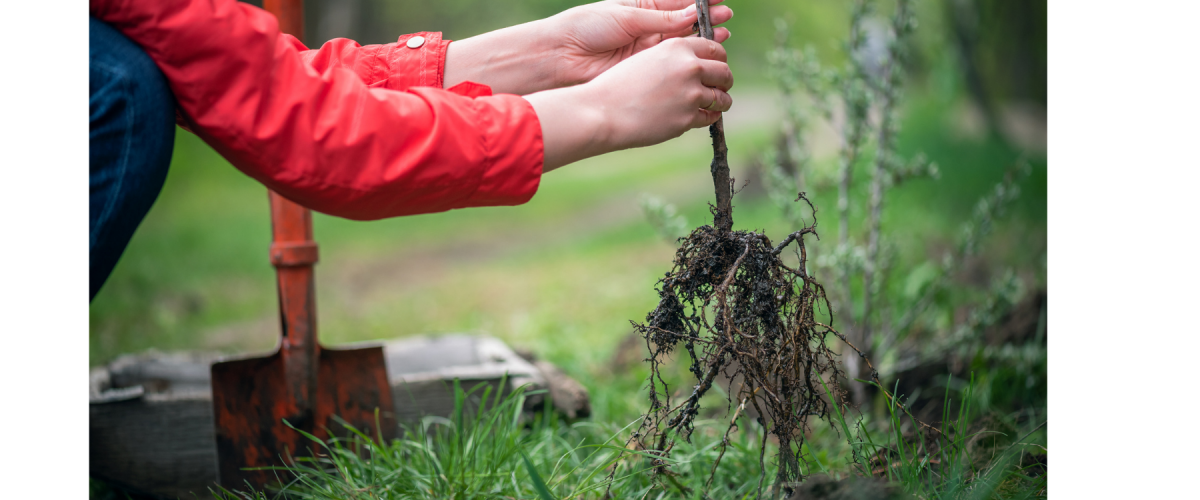
- Unpack tree and detangle roots. Soak in water for 3-6 hours. In a 3 foot diameter area, remove grass and turn the soil to aid root growth. Plant tree at same depth it stook in nursery and partially backfill the hole. Make sure this portion is firmly packed. Shovel in the remaining soil. Create a shallow basin for water to collect and give the tree a good soak. Cover with 2 inches of mulch in the 3 foot area around tree but so that it doesn't touch the trunk. Do not use soil amendments when planting bare roots. Click here for more information from the Arbor Day Foundation.
WATERING
- First 1-2 Years
- The first couple years you may not see much growth on top, but the tree is working on expanding root growth. Nurturing root growth will help your tree to handle heat and drought later on.
- The soil and mulch around the tree should be kept soggy through the first year. Avoid standing water. During dry weather, generously water the tree every 7-10 days. Water slowly at the dripline. Tree gaitors are popular watering tools for young trees that allow water to slowly soak into the soil over several hours.
- Urban trees that are planted along boulevards or surrounded by concrete may need more watering as these areas absorb more heat.
- If soil is damp 2 inches from the soil surface, then you do not need to water.
- Third year and On
- Watering your tree may depend on species, location, and weather. Selecting native, drought-tolerant trees will reduce your need to water trees during dry periods as the tree ages. Some species, like aspens or maples, require more water and may need watering during very dry summers.
FERTILIZING
- Do Not fertilize in the first year after planting. This may "burn" or kill young and newly planted trees.
- Do Not use potting soil when planting trees.
PRUNING
- Dead branches can be pruned at any time of the year. Otherwise, when to prune may depend on why you are pruning. Best pruning times are in the summer after seasonal growth, or winter during dormancy. Pruning can also wait 1-2 years after newly planting trees.
- The ABC's of pruning include: Assessment, Bad Branches, Competing Branches. Watch this video by the Arbor Day Foundation's #AskanArborist series.
- You want to prune so that the tree has one, definite leader that guides the tree upward. Competing leaders may lead to branches that break from wind or snow load.

